How to Install Docker on Ubuntu VPS (2025) — Complete Guide
What Is Docker and Why Run It on a VPS
Docker is a containerization platform. For use cases, see VPS for Docker and their dependencies into isolated, reproducible units called containers. Containers share the host kernel. For automation, see VPS for n8n, which makes them significantly lighter, faster to start, and more resource-efficient. A typical Docker container starts in under a second and consumes only the memory required by the application itself, with no guest OS overhead.
Running Docker on a VPS gives you a clean, reproducible deployment environment. You can run databases, web servers, monitoring tools. Compare storage in Best NVMe VPS Europe, and custom applications side by side without dependency conflicts. Each container has its own filesystem, network stack, and process space. If one application crashes, it does not affect the others. This isolation makes Docker ideal for production workloads on a single VPS.
Docker Compose extends Docker by allowing you to define multi-container applications in a single YAML file. Instead of manually linking containers, managing volumes, and configuring networks through long command lines, you write a declarative configuration and start everything with one command. This approach is the standard for self-hosted applications like n8n, Nextcloud, WordPress with MySQL, and monitoring stacks.
Prerequisites
Requirement
Details
Operating System
Ubuntu 22.04 LTS or 24.04 LTS (fresh install recommended)
Root Access
SSH access with root privileges or a sudo user
RAM
Minimum 1GB (2GB+ recommended for running multiple containers)
Disk Space
Minimum 10GB free (Docker images and containers consume space)
CPU
1 vCPU minimum (2+ recommended for multi-container stacks)
Note: Some VPS providers ship minimal Ubuntu images that lack certain packages. The installation steps below include installing all necessary prerequisites. Do not skip the prerequisites step even if you think the packages are already installed.
Step 1: Update System Packages
Connect to your VPS via SSH and update the package index and all installed packages. This ensures compatibility and security before adding new repositories.
ssh root@your-vps-ip
apt update && apt upgrade -y
Step 2: Install Prerequisites
Docker requires several packages that may not be present on a minimal Ubuntu installation. These tools handle HTTPS transport, certificate verification, and package management for third-party repositories.
Docker signs its packages with a GPG key to ensure authenticity. You must add this key to your system's trusted keyring before adding the Docker repository. Without the key, APT will refuse to install packages from the Docker repository.
Add Docker's official repository to your APT sources. This repository contains Docker Engine (the core runtime), containerd (the container runtime underneath Docker), and the Docker Compose plugin. Using the official repository ensures you get the latest stable releases directly from Docker, rather than the potentially outdated version in Ubuntu's own repositories.
Update the package index again to fetch the Docker repository metadata.
apt update
Step 5: Install Docker Engine
Install Docker Engine along with containerd and the Docker Compose plugin. The Compose plugin is installed as a Docker CLI subcommand (docker compose with a space, not a hyphen) and is the recommended way to use Compose on modern Docker installations.
Verify the installation by checking the Docker version. Both the Docker Engine version and the Compose plugin version should be displayed.
docker --version
docker compose version
Step 6: Enable and Start Docker
Docker is automatically enabled and started by the package installer on most systems, but verify this explicitly to avoid surprises after a reboot.
systemctl enable docker
systemctl start docker
systemctl status docker
The status output should show "active (running)." If it shows "inactive" or "failed," check the logs with journalctl -u docker --no-pager -n 20.
Step 7: Add Your User to the Docker Group
By default, Docker requires root privileges. Running Docker commands with sudo is tedious and insecure in scripts. Add your user to the docker group to allow non-root Docker access.
usermod -aG docker $USER
The group change takes effect on the next login session. To apply it immediately without logging out, run:
su - $USER
Verify that your user can run Docker without sudo:
docker run hello-world
You should see a message confirming that Docker is running correctly and displaying the hello-world output.
Security Warning: Adding a user to the docker group grants root-equivalent access. Any user in the docker group can mount the host filesystem, read sensitive files, and escalate privileges. Only add trusted users to this group. On production systems, consider using rootless Docker mode or Podman as an alternative.
Step 8: Test Docker with a Real Container
Run an Nginx web server container to verify Docker is fully functional, including image pulling and port mapping.
docker run -d --name test-nginx -p 8080:80 nginx:alpine
This command pulls the lightweight Alpine-based Nginx image, creates a container named "test-nginx," maps port 8080 on your VPS to port 80 inside the container, and runs it in detached mode. Open your browser and navigate to http://your-vps-ip:8080. You should see the Nginx welcome page.
Clean up the test container when you are done verifying:
docker stop test-nginx
docker rm test-nginx
Essential Docker Commands
These are the commands you will use most frequently when managing containers on your VPS.
Container Management
# List running containers
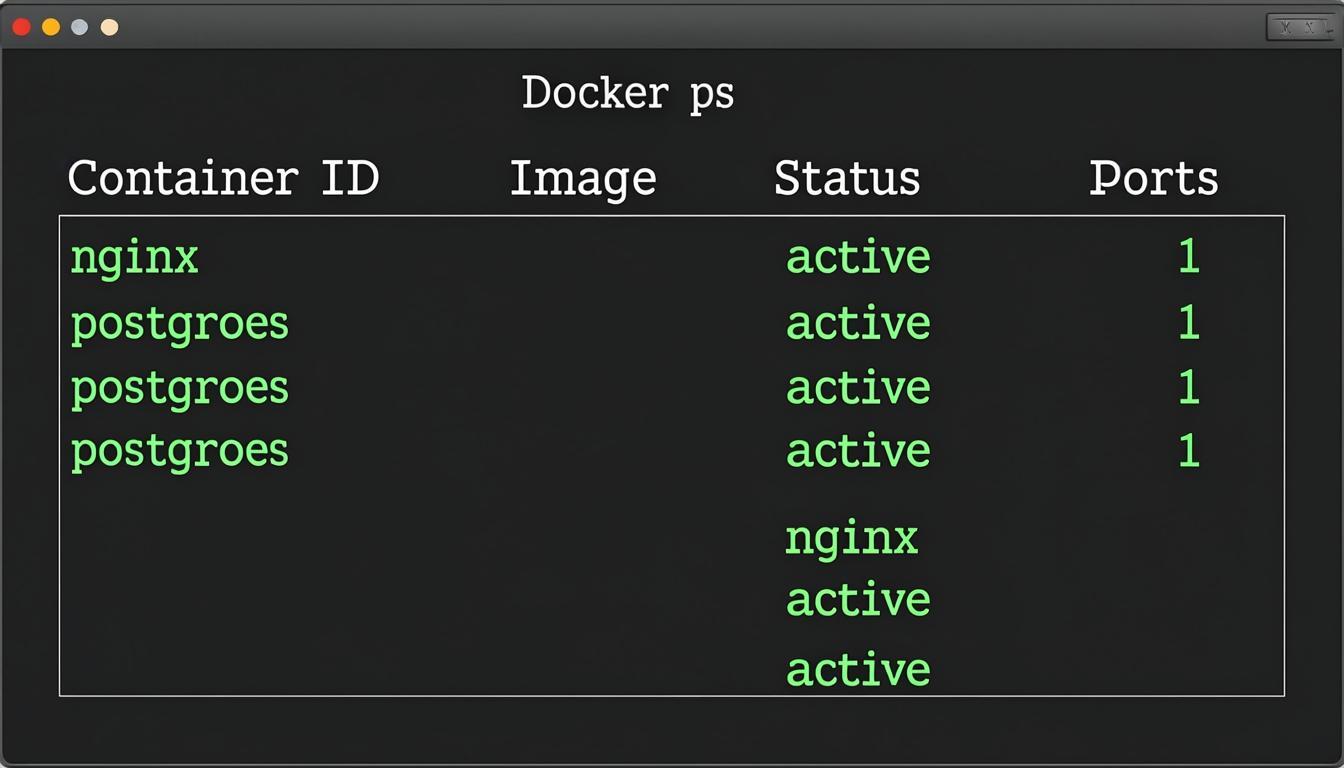
docker ps
Running Docker containers


# List all containers (including stopped)
docker ps -a

# Stop a running container
docker stop container_name

# Start a stopped container
docker start container_name

# Remove a stopped container
docker rm container_name

# View container logs
docker logs -f container_name

# Execute a command inside a running container
docker exec -it container_name /bin/sh
Image Management
# List downloaded images
docker images

# Pull an image without running it
docker pull image_name:tag

# Remove an image
docker rmi image_name:tag

# Remove all unused images
docker image prune -a
Resource Monitoring
# View resource usage of running containers
docker stats

# View detailed container information
docker inspect container_name

# View disk usage
docker system df
Docker Compose is the standard tool for defining and running multi-container applications. Instead of typing long docker run commands, you write a YAML configuration file that declares your services, networks, and volumes.
Create a Docker Compose Project
Create a project directory and a docker-compose.yml file that defines an Nginx reverse proxy and a Node.js application.
The -d flag runs everything in detached mode. Docker Compose pulls the required images, creates the network, starts both services in dependency order, and maps the ports. Visit http://your-vps-ip to see the application running behind the Nginx reverse proxy.
Useful Docker Compose Commands
# View running services
docker compose ps

# View logs for all services
docker compose logs -f

# View logs for a specific service
docker compose logs -f app

# Restart a single service
docker compose restart app

# Stop and remove all containers, networks
docker compose down

# Stop, remove containers, and delete volumes
docker compose down -v

# Rebuild and restart after code changes
docker compose up -d --build
Portainer provides a graphical interface for managing your Docker environment. It is especially useful when you are running multiple containers and want a visual overview of status, logs, and resource usage.
Access Portainer at https://your-vps-ip:9443. Accept the self-signed certificate warning and create an admin account on the first visit. The Docker socket mount (/var/run/docker.sock) gives Portainer full control over your Docker environment.
Important: Protect Portainer with a strong password and consider restricting access to the 9443 port with a firewall rule or an authentication proxy. Exposing Docker management interfaces publicly is a significant security risk.
Docker Storage and Volumes
Understanding Docker storage is critical for production deployments. By default, container filesystems are ephemeral — any data written inside a container is lost when the container is removed. Persistent data must be stored in volumes or bind mounts.
Docker Volumes
Volumes are managed by Docker and stored at /var/lib/docker/volumes/. They are the recommended approach for persistent data.
# Create a named volume
docker volume create mydata

# Use a volume with a container
docker run -d -v mydata:/var/lib/mysql mysql:8

# List volumes
docker volume ls

# Inspect a volume
docker volume inspect mydata

# Remove unused volumes
docker volume prune
Bind Mounts
Bind mounts map a directory on the host filesystem to a path inside the container. They are useful for configuration files and application source code.
# Mount a host directory into a container
docker run -d -v /opt/myapp/config:/app/config nginx
Docker Networking
Docker creates three network types by default: bridge, host, and none. The bridge network is the default and provides isolated networking between containers. Containers on the same bridge network can communicate using their container names as hostnames.
# Create a custom bridge network
docker network create mynet

# Run containers on the custom network
docker run -d --network mynet --name api myapi:latest
docker run -d --network mynet --name web myweb:latest

# The web container can reach the api container at http://api:port
# Test connectivity
docker exec web curl http://api:8080
In Docker Compose, a default network is created automatically. All services in the compose file can reach each other using their service names.
Automatic Container Updates with Watchtower
Watchtower monitors your running containers and automatically pulls and restarts them when new images are published. This eliminates the need for manual updates for containers that follow the latest tag.
The --interval 86400 flag checks for updates every 24 hours. The --cleanup flag removes old images after updating. For more control, you can exclude specific containers with --label-enable and only watch containers that have the com.centurylinklabs.watchtower.enable=true label.
Cleanup and Maintenance
Docker accumulates unused images, containers, and volumes over time. Regular cleanup prevents disk space from filling up on your VPS.
# View Docker disk usage
docker system df

# Remove all stopped containers
docker container prune -f

# Remove all unused images
docker image prune -a -f

# Remove all unused volumes (use with caution)
docker volume prune -f

# Remove all unused networks
docker network prune -f

# Remove everything unused (containers, images, networks, volumes, build cache)
docker system prune -a --volumes -f
Alpine Linux-based images are significantly smaller than Debian or Ubuntu-based alternatives. The Nginx Alpine image is around 40MB compared to the standard Nginx image at 187MB. Smaller images download faster, consume less disk space, and have a smaller attack surface.
Limit Container Resources
On a VPS with limited resources, prevent any single container from consuming all available memory or CPU.
For custom applications, use multi-stage Dockerfiles to separate the build environment from the runtime environment. This dramatically reduces the final image size by excluding build tools and intermediate files.
# Example multi-stage Dockerfile
FROM node:20-alpine AS builder
WORKDIR /app
COPY package*.json ./
RUN npm ci
COPY . .
RUN npm run build

FROM node:20-alpine AS production
WORKDIR /app
COPY --from=builder /app/dist ./dist
COPY --from=builder /app/node_modules ./node_modules
CMD ["node", "dist/main.js"]
Optimize Layer Caching
Order Dockerfile instructions from least to most frequently changed. Package installations rarely change, so put them before copying application code. This maximizes Docker's layer cache and reduces rebuild times.
Troubleshooting Common Docker Issues
1. "Cannot connect to the Docker daemon"
Symptom: Running any docker command returns "Cannot connect to the Docker daemon. Is the docker daemon running?"
Solution: The Docker service is not running. Start it with systemctl start docker. If it fails to start, check the logs at journalctl -u docker --no-pager -n 30. Common causes include: full disk (Docker cannot write to its data directory), permission issues on /var/run/docker.sock, or a corrupted container runtime.
2. Container Exits Immediately
Symptom: A container starts but exits within seconds. docker ps -a shows the container with an exit code.
Solution: Check the container logs with docker logs container_name. Common causes include: missing configuration files, port conflicts (another service already using the port), or the container's main process exiting due to an error. For containers running shell scripts, ensure the script has correct line endings (LF, not CRLF) and execute permissions.
3. Out of Disk Space
Symptom: Docker operations fail with "no space left on device" errors.
Solution: Check Docker disk usage with docker system df. Run docker system prune -a --volumes -f to clean up unused data. If the problem persists, move Docker's data directory to a larger disk by editing the data-root setting in /etc/docker/daemon.json.
Symptom: A container cannot read or write files in a bind-mounted directory.
Solution: File permissions inside the container are governed by the host filesystem. Check the ownership and permissions of the mounted directory on the host. Either adjust the host permissions (chown -R 1000:1000 /opt/myapp/data) or run the container with a specific user ID (--user 1000:1000).
5. DNS Resolution Fails Inside Containers
Symptom: Containers cannot resolve hostnames, but the host system can.
Solution: Docker uses its own DNS resolver (127.0.0.11) by default. If your VPS uses a local DNS resolver that Docker cannot reach, specify DNS servers in /etc/docker/daemon.json:
What is the difference between Docker CE and Docker EE?
Docker CE (Community Edition) is the free, open-source version suitable for individual developers and small teams. Docker EE (Enterprise Edition) is a paid product with additional management, security, and support features for enterprise environments. For a VPS, Docker CE is the correct choice.
Should I use Docker Compose v1 or v2?
Use Docker Compose v2, which is installed as the docker compose plugin (with a space). Compose v1 used a standalone docker-compose binary and is now deprecated. All new Docker installations include Compose v2 by default.
How much RAM does Docker itself use?
The Docker daemon consumes roughly 50-100MB of RAM at idle. Each container adds its own memory usage on top of that. A minimal setup with 2-3 small containers can run on a VPS with 1GB RAM, but 2GB or more is recommended for comfortable operation.
Can I run Docker inside Docker?
Technically yes (Docker-in-Docker or DIND), but it is generally not recommended due to complexity and security concerns. Instead, mount the host Docker socket into the container (-v /var/run/docker.sock:/var/run/docker.sock). This allows the container to control the host Docker daemon, which is simpler and uses fewer resources. This is how tools like Portainer and Watchtower work.
How do I automatically start containers after a reboot?
Use the --restart unless-stopped policy when creating containers. Docker will automatically restart them after the daemon starts. In Docker Compose, add restart: unless-stopped to each service definition.
How do I expose Docker containers securely?
Never expose database containers or internal services directly to the internet. Use a reverse proxy (Nginx, Caddy, Traefik) as a single entry point, and only map the proxy's ports to the host. Use Docker networks to keep internal communication private. Consider using Docker's internal network mode for services that do not need internet access.
How do I back up Docker volumes?
Use the docker run --rm -v volume_name:/data -v $(pwd):/backup alpine tar czf /backup/backup.tar.gz -C /data . pattern to create tar archives of volume contents. For automated backups, combine this with a cron job that copies the archives to remote storage or object storage.
Can I change the Docker data directory after installation?
Yes. Edit /etc/docker/daemon.json to set a new data-root path, then restart Docker with systemctl restart docker. Make sure the new directory is on a disk with sufficient space and correct permissions.
Need a VPS for Your Docker Containers?
Inferno VPS with NVMe SSD and 10Gbps uplink — ideal for running Docker containers, from simple web apps to multi-service stacks with databases and monitoring.