Best VPS for Docker Containers (2025) — Setup Guide
Docker has become the standard way to deploy applications. For setup, see Docker on Ubuntu VPS, from simple web services to complex multi-container architectures. Running Docker on a VPS gives you a lightweight environment. For self-hosting with Docker, see VPS for Self-Hosting for every service without the overhead of full virtual machines. This guide covers choosing the right VPS, installing Docker and Docker Compose, setting up Portainer for visual management, securing your container environment, and optimizing resource allocation for production workloads.
Why Run Docker on a VPS
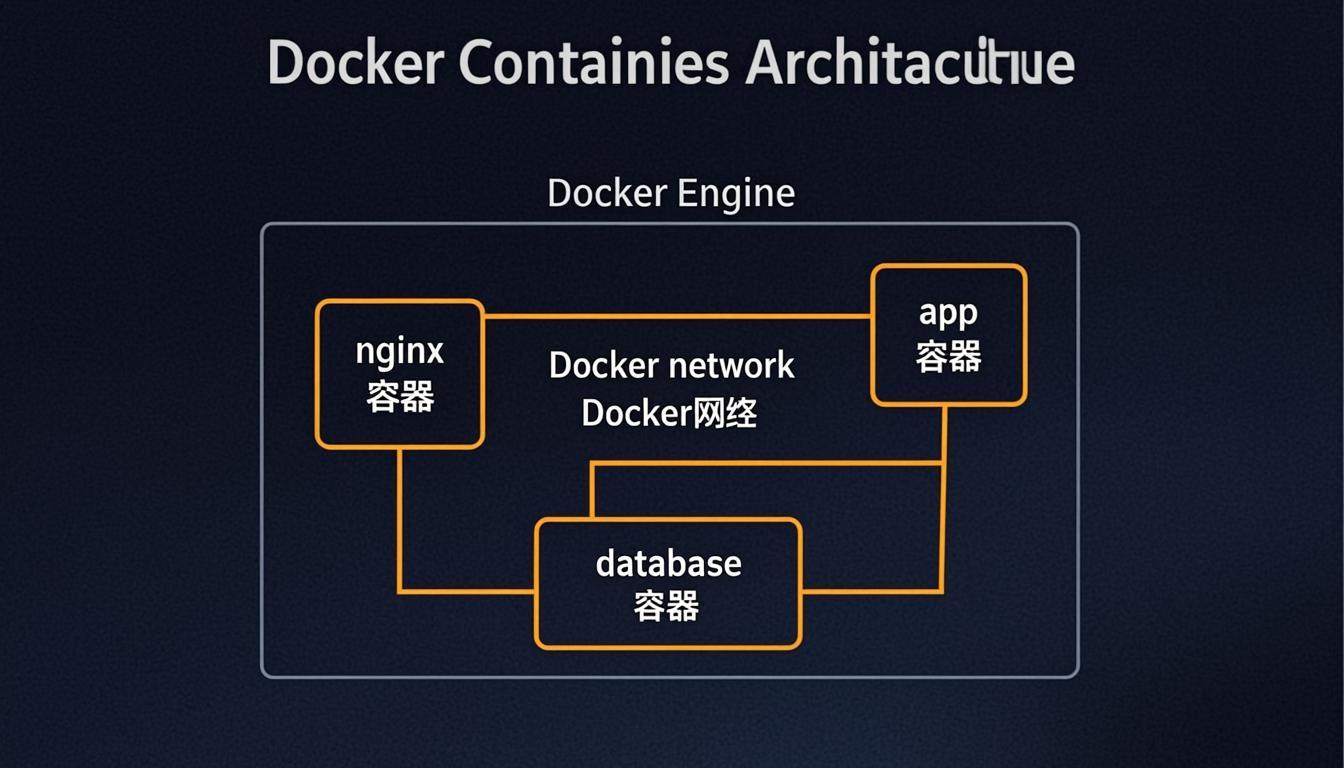
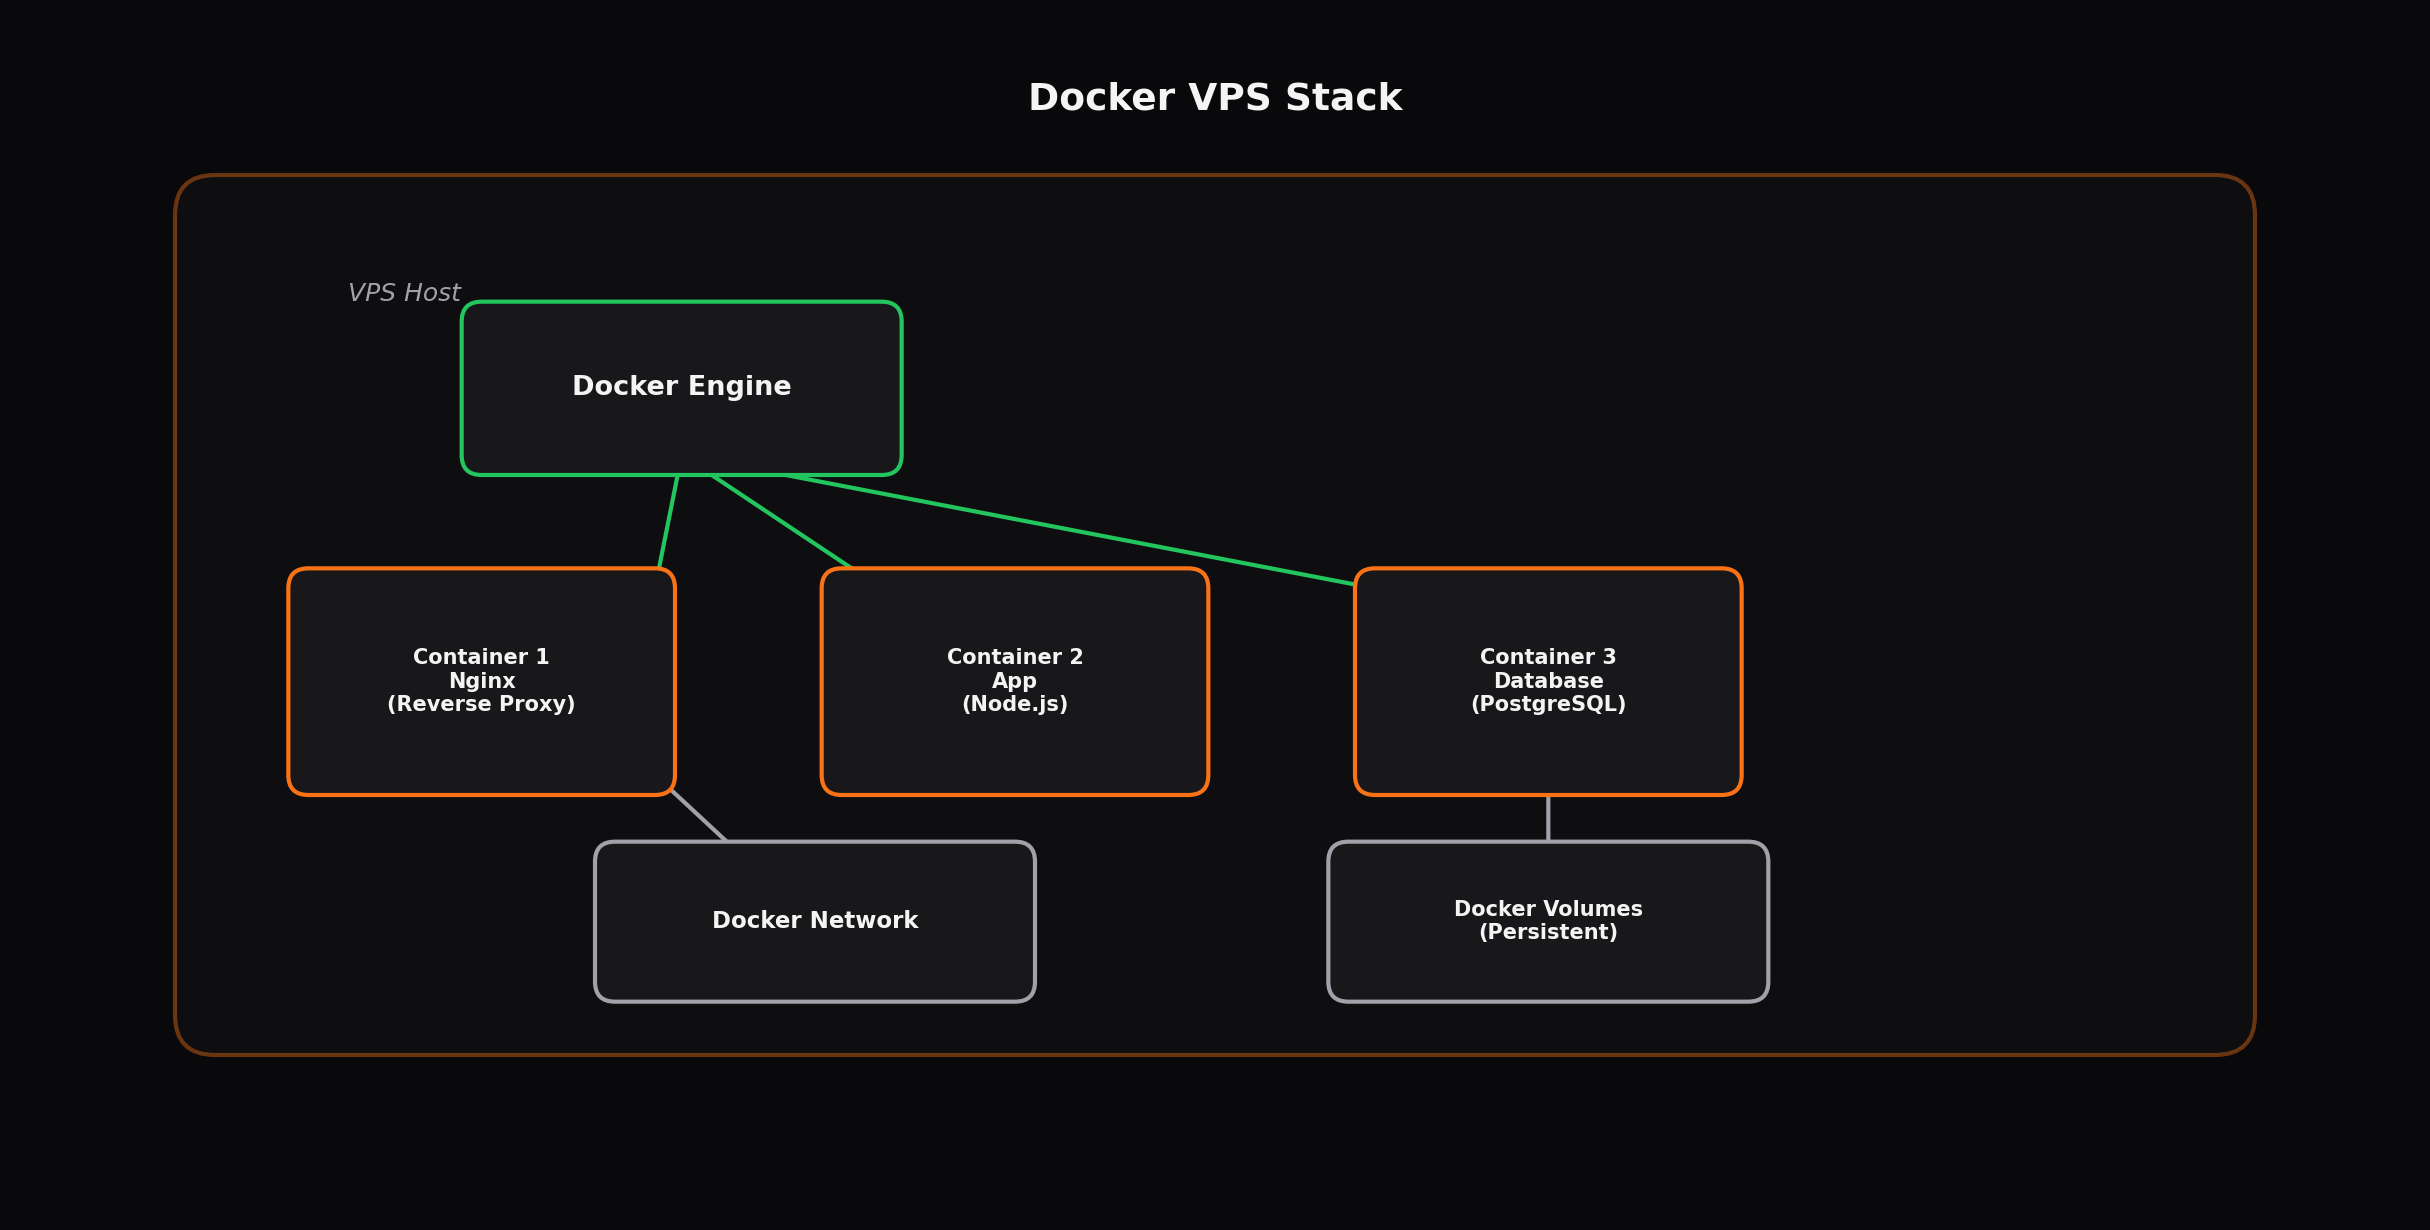
Docker containers share the host operating system kernel, making them significantly more efficient than traditional virtual machines. A VPS running Docker can host dozens of containers. Compare NVMe performance in Best NVMe VPS Europe while using far less resources than the equivalent number of VMs. This efficiency translates directly into cost savings.
Environment consistency
Containers package your application with all its dependencies — runtime, libraries, configuration files — into a single image that behaves identically on any system. The "works on my machine" problem disappears entirely. Your development environment, testing environment, and production environment run the same container images, eliminating deployment surprises and reducing debugging time.
Isolation and security
Each container runs in its own isolated namespace with its own filesystem, network interfaces, and process tree. A vulnerability in one container does not directly compromise other containers or the host system. This isolation allows you to run databases, web servers, caching layers, and background workers on the same VPS without conflicts between their dependencies or configurations.
Rapid deployment and rollback
Deploying a new version means pulling an updated image and restarting the container — a process that takes seconds. If something goes wrong, roll back to the previous image just as quickly. Docker Compose manages multi-container applications with a single command, making complex stacks reproducible and easy to share across team members or servers.
Resource efficiency
Containers add minimal overhead compared to bare-metal processes. The Docker daemon itself uses approximately 50-100 MB of RAM. Each container adds only the memory required by its application. On a 4 GB VPS, you can comfortably run a web server, a PostgreSQL database, a Redis cache, and several background workers simultaneously. The equivalent setup with separate VMs would require 8-16 GB of total memory.
Choosing the Right VPS for Docker
Docker itself is lightweight, but your VPS must have enough resources for all the containers you plan to run simultaneously. The following table provides guidance based on common deployment scenarios.
| Workload | vCPUs | RAM | Storage | Container Count |
|---|---|---|---|---|
| Learning and testing | 1 | 1 GB | 20 GB SSD | 3-5 small containers |
| Personal projects | 2 | 2 GB | 30 GB SSD | 5-10 containers |
| Web app + database | 2 | 4 GB | 50 GB SSD | 10-20 containers |
| Production microservices | 4 | 8 GB | 100 GB NVMe | 20-40 containers |
| Heavy multi-service | 8 | 16 GB | 200 GB NVMe | 40+ containers |
Storage: SSD vs NVMe
The difference between SATA SSD and NVMe SSD matters for Docker workloads. NVMe drives provide 3-5x faster sequential read/write speeds and 10x higher random IOPS. This directly impacts container startup time, image pull speed, and application performance for I/O-heavy services like databases. If your VPS provider offers NVMe storage at a reasonable premium, it is worth the investment for any production deployment.
Complete Docker Installation on Ubuntu 22.04
This section provides every command needed to install Docker, Docker Compose, and Portainer on a fresh Ubuntu 22.04 VPS.
Step 1: System preparation
# Update all system packages
sudo apt update && sudo apt upgrade -y

# Install prerequisite packages
sudo apt install -y ca-certificates curl gnupg lsb-release apt-transport-https \
    software-properties-common htop ncdu

# Add Docker's official GPG key
sudo install -m 0755 -d /etc/apt/keyrings
curl -fsSL https://download.docker.com/linux/ubuntu/gpg | sudo gpg --dearmor \
    -o /etc/apt/keyrings/docker.gpg
sudo chmod a+r /etc/apt/keyrings/docker.gpg

# Add Docker repository
echo "deb [arch=$(dpkg --print-architecture) signed-by=/etc/apt/keyrings/docker.gpg] \
    https://download.docker.com/linux/ubuntu $(lsb_release -cs) stable" \
    | sudo tee /etc/apt/sources.list.d/docker.list > /dev/null
Step 2: Install Docker Engine
# Install Docker Engine, containerd, and Docker Compose
sudo apt update
sudo apt install -y docker-ce docker-ce-cli containerd.io docker-buildx-plugin \
    docker-compose-plugin

# Verify Docker installation
sudo docker run hello-world

# Add your user to the Docker group (no sudo required after)
sudo usermod -aG docker $USER

# Apply group membership (log out and back in, or run)
newgrp docker

# Verify non-sudo Docker access
docker ps
Step 3: Configure Docker daemon for production
# Create Docker daemon configuration
sudo tee /etc/docker/daemon.json << 'EOF'
{
  "log-driver": "json-file",
  "log-opts": {
    "max-size": "10m",
    "max-file": "3"
  },
  "storage-driver": "overlay2",
  "live-restore": true,
  "userland-proxy": false,
  "no-new-privileges": true
}
EOF

# Restart Docker to apply configuration
sudo systemctl restart docker

# Enable Docker to start on boot
sudo systemctl enable docker containerdmax-size: 10m and max-file: 3 settings limit each container's log files to 30 MB total (3 files at 10 MB each). Without these limits, containers generating verbose logs can fill your disk within days. Adjust these values based on your debugging needs and available storage.
Step 4: Install Portainer for visual management
# Create Portainer data volume
docker volume create portainer_data

# Run Portainer CE in a container
docker run -d \
    --name portainer \
    --restart=unless-stopped \
    -p 9443:9443 \
    -p 8000:8000 \
    -v /var/run/docker.sock:/var/run/docker.sock \
    -v portainer_data:/data \
    portainer/portainer-ce:latest

# Portainer is now accessible at https://your-server-ip:9443
# Set up admin password on first login
Step 5: Configure UFW firewall for Docker
# Install and configure UFW
sudo apt install -y ufw
sudo ufw default deny incoming
sudo ufw default allow outgoing

# Allow SSH, HTTP, HTTPS
sudo ufw allow 22/tcp
sudo ufw allow 80/tcp
sudo ufw allow 443/tcp

# Allow Portainer (restrict to your IP if possible)
sudo ufw allow 9443/tcp

# Enable firewall
sudo ufw enable

# Verify rules
sudo ufw status verbose
Deploying a Multi-Container Application
The following example deploys a complete web application stack with Nginx, a Node.js API, PostgreSQL, Redis, and a monitoring service using Docker Compose.
# Create project directory structure
mkdir -p ~/myapp && cd ~/myapp

# Create docker-compose.yml
cat > docker-compose.yml << 'EOF'
version: '3.8'

services:
  # PostgreSQL database
  db:
    image: postgres:16-alpine
    container_name: myapp-db
    restart: unless-stopped
    environment:
      POSTGRES_USER: appuser
      POSTGRES_PASSWORD: secure_password_here
      POSTGRES_DB: appdb
    volumes:
      - db_data:/var/lib/postgresql/data
    healthcheck:
      test: ["CMD-SHELL", "pg_isready -U appuser -d appdb"]
      interval: 10s
      timeout: 5s
      retries: 5

  # Redis cache
  redis:
    image: redis:7-alpine
    container_name: myapp-redis
    restart: unless-stopped
    volumes:
      - redis_data:/data
    healthcheck:
      test: ["CMD", "redis-cli", "ping"]
      interval: 10s
      timeout: 3s
      retries: 5

  # Node.js application
  app:
    build: ./app
    container_name: myapp-app
    restart: unless-stopped
    environment:
      - DATABASE_URL=postgresql://appuser:secure_password_here@db:5432/appdb
      - REDIS_URL=redis://redis:6379
      - NODE_ENV=production
    depends_on:
      db:
        condition: service_healthy
      redis:
        condition: service_healthy
    expose:
      - "3000"

  # Nginx reverse proxy
  proxy:
    image: nginx:alpine
    container_name: myapp-proxy
    restart: unless-stopped
    ports:
      - "80:80"
      - "443:443"
    volumes:
      - ./nginx/nginx.conf:/etc/nginx/nginx.conf:ro
      - ./nginx/ssl:/etc/nginx/ssl:ro
      - nginx_logs:/var/log/nginx
    depends_on:
      - app

  # Log monitoring (Dozzle)
  dozzle:
    image: amir20/dozzle:latest
    container_name: myapp-dozzle
    restart: unless-stopped
    volumes:
      - /var/run/docker.sock:/var/run/docker.sock:ro
    ports:
      - "8080:8080"
    environment:
      - DOZZLE_USERNAME=admin
      - DOZZLE_PASSWORD=secure_password_here

volumes:
  db_data:
  redis_data:
  nginx_logs:
EOF
# Start all services
docker compose up -d
# View status of all containers
docker compose ps
# View logs from all services
docker compose logs -f
# Restart a single service
docker compose restart app
# Stop everything
docker compose down
# Stop everything and remove volumes (destroys data)
docker compose down -vResource Management and Limits
Without resource limits, a single container can consume all available memory and CPU, crashing other services. Docker provides mechanisms to constrain resource usage per container.
Setting memory limits
# In docker-compose.yml, add resource limits:
services:
  app:
    deploy:
      resources:
        limits:
          memory: 512M
          cpus: '1.0'
        reservations:
          memory: 256M
          cpus: '0.25'

# Or via docker run command:
docker run -d --name myapp \
    --memory=512m --memory-swap=1g \
    --cpus=1.0 \
    myapp:latest

# Check resource usage of running containers
docker stats --no-stream --format \
    "table {{.Name}}\t{{.CPUPerc}}\t{{.MemUsage}}\t{{.MemPerc}}"
Memory reservation vs limits
A memory reservation is a soft limit — Docker attempts to keep the container within this boundary but does not enforce it strictly. A memory limit is a hard limit — the container is killed if it exceeds this threshold. Set reservations to guarantee minimum resources for critical services and limits to prevent runaway containers from affecting the entire system. A common pattern is to set the reservation at 50-70% of the limit, leaving headroom for traffic spikes.
Monitoring resource usage
# Real-time container monitoring
docker stats

# One-shot resource snapshot
docker stats --no-stream

# Detailed container resource inspection
docker inspect myapp-app --format='{{.HostConfig.Memory}}'

# System-level monitoring
htop

# Disk usage analysis
docker system df

# Detailed image and container disk usage
docker system df -v

# Clean up unused resources (images, containers, networks)
docker system prune -a

# Clean up everything including volumes (destructive)
docker system prune -a --volumes
Docker Security Best Practices
Containers are not inherently secure. Proper configuration is essential to prevent privilege escalation, data leaks, and unauthorized access.
# 1. Never run containers as root
# In Dockerfile:
# RUN useradd -m appuser
# USER appuser

# 2. Use read-only filesystem where possible
docker run --read-only --tmpfs /tmp myapp:latest

# 3. Drop all capabilities and add only what is needed
docker run --cap-drop ALL --cap-add NET_BIND_SERVICE myapp:latest

# 4. Do not expose the Docker socket
# Never mount /var/run/docker.sock in untrusted containers
# Exception: Portainer runs on the same host, but restrict its access

# 5. Use Docker secrets for sensitive data (Swarm mode)
# Or use .env files with restricted permissions
chmod 600 .env

# 6. Scan images for vulnerabilities
docker scout cves myapp:latest

# 7. Use specific image tags, never :latest in production
# Bad:  image: node:latest
# Good: image: node:20.11-alpine3.19

# 8. Enable user namespace remapping (adds another isolation layer)
echo '{"userns-remap": "default"}' | sudo tee /etc/docker/daemon.json

# 9. Restrict container network access
# By default, containers can communicate with each other
# Use internal networks for services that should not be internet-facing
docker network create --internal myapp-internal
Pricing Comparison: VPS Providers for Docker
| Provider | 2 vCPU / 4 GB | 4 vCPU / 8 GB | 8 vCPU / 16 GB | Docker Support |
|---|---|---|---|---|
| Inferno VPS | $8/mo | $16/mo | $32/mo | Full root, NVMe SSD, pre-installed Docker available |
| DigitalOcean | $18/mo | $36/mo | $72/mo | Managed Docker option ($15/mo extra), limited flexibility |
| Vultr | $12/mo | $24/mo | $48/mo | Full root, bare metal option, hourly billing |
| Hetzner | $5/mo | $10/mo | $20/mo | Excellent value, limited stock, EU data centers only |
| Contabo | $6/mo | $12/mo | $18/mo | High specs, lower CPU performance, limited support |
Pros and Cons: Running Docker on a VPS
Advantages
- Maximum resource efficiency — containers share the host kernel
- Consistent environments from development to production
- Rapid deployment and rollback in seconds
- Isolation prevents dependency conflicts between services
- Portainer provides intuitive visual management
- Docker Compose simplifies multi-service orchestration
- Large ecosystem of pre-built images on Docker Hub
- Easy horizontal scaling with additional containers
- Reproducible infrastructure defined in code
Disadvantages
- Requires Linux administration skills
- Security requires deliberate configuration (not secure by default)
- Storage overhead from layered filesystem (copy-on-write)
- Networking complexity increases with multi-container stacks
- Debugging container issues requires understanding Docker internals
- Persistent data requires proper volume management
- Monitoring requires additional tooling (Dozzle, Prometheus, Grafana)
- Container escape vulnerabilities exist (keep Docker updated)
Automating Docker Updates and Maintenance
# Install Watchtower for automatic image updates
docker run -d \
    --name watchtower \
    --restart unless-stopped \
    -v /var/run/docker.sock:/var/run/docker.sock \
    containrrr/watchtower \
    --interval 86400 \
    --cleanup \
    --label-enable

# To mark specific containers for auto-update, add this label:
# docker run --label com.centurylinklabs.watchtower.enable=true ...

# Set up automatic cleanup cron job
(crontab -l 2>/dev/null; echo "0 3 * * * docker system prune -af >> /var/log/docker-prune.log 2>&1") | crontab -

# Monitor disk usage weekly
(crontab -l 2>/dev/null; echo "0 9 * * 1 docker system df >> /var/log/docker-df.log 2>&1") | crontab -Docker Networking for Multi-Container Stacks
# Create a custom bridge network for inter-container communication
docker network create myapp-network

# Connect existing containers to the network
docker network connect myapp-network myapp-db
docker network connect myapp-network myapp-redis

# Containers on the same network can address each other by container name
# For example, the app container connects to PostgreSQL at:
# host: db, port: 5432

# List networks
docker network ls

# Inspect a network to see connected containers
docker network inspect myapp-network

# In Docker Compose, networks are created automatically:
# services:
#   app:
#     networks:
#       - frontend
#       - backend
#   db:
#     networks:
#       - backend
# networks:
#   frontend:
#   backend:
#     internal: true  # No internet access, only other backend services
Troubleshooting Common Docker Issues
Container keeps restarting
Check logs with docker logs <container>. Common causes: missing environment variables, failed health checks, out-of-memory (OOM killer), or dependency services not ready. Use docker inspect <container> to see the exit code and last error message.
Disk space full
Docker caches images, build layers, and stopped containers. Run docker system df to see what is consuming space. Use docker system prune -a to remove unused images, containers, and networks. For persistent disk space issues, consider configuring the Docker data directory on a larger volume.
Container cannot connect to another service
Verify both containers are on the same Docker network. Check that the service is running and healthy. Ensure you are using the container name (not the IP address) as the hostname. In Docker Compose, services can reference each other by service name automatically.
Permission denied errors
If Docker commands require sudo despite adding your user to the Docker group, log out and back in (or run newgrp docker). Verify group membership with id. If files mounted from the host have permission issues, adjust the host directory permissions or use the :ro flag for read-only mounts where appropriate.